Data sources
Drone, LiDAR or photogrammetry: capturing your own height data
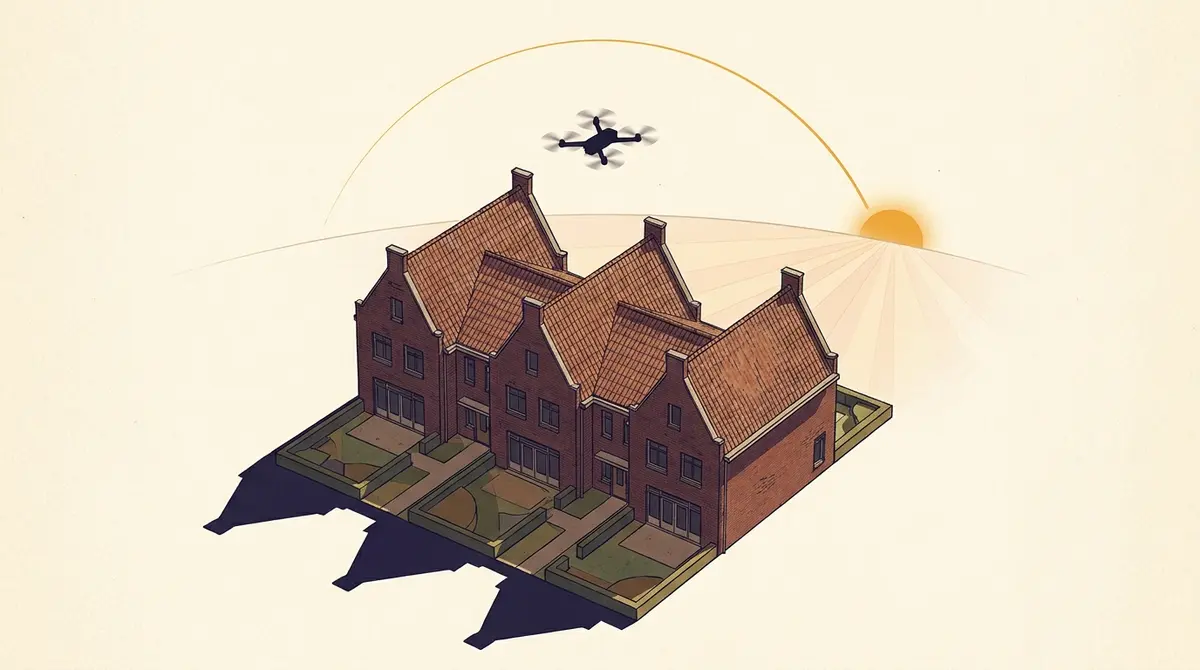
When 3DBAG and AHN have not surveyed your home yet, you can commission height data yourself. Three routes are open: hire a surveying firm (€500–€5,000, 1–2 weeks), fly a drone yourself and process it in WebODM or RealityCapture (from €750 in hardware, one weekend), or use a phone photogrammetry app for visualisation. Thresholds, rules (Open A1/A2/A3, Remote ID 2026) and the GeoTIFF format Schaduwplan accepts.
For roughly 95% of the Netherlands, 3DBAG (TU Delft) and AHN (Het Waterschapshuis) give Schaduwplan enough to produce a sunlight study. For the remaining 5% — recent new builds, roof additions since the last flight, greenhouses, T-shaped roofs that the roof-fit algorithm cannot handle — you can commission or capture a height survey yourself. Three routes are open: hiring a surveying firm (€500 to €5,000, 1 to 2 weeks), flying a drone yourself plus processing in WebODM or RealityCapture (from €750 in hardware, one weekend’s work), or a phone photogrammetry app for visualisation. This article covers the thresholds, the rules (Open category A1/A2/A3, Remote ID 2026), and which file format Schaduwplan accepts. Read first: part 1: what is AHN and when will my home be surveyed?
When do you actually need this?
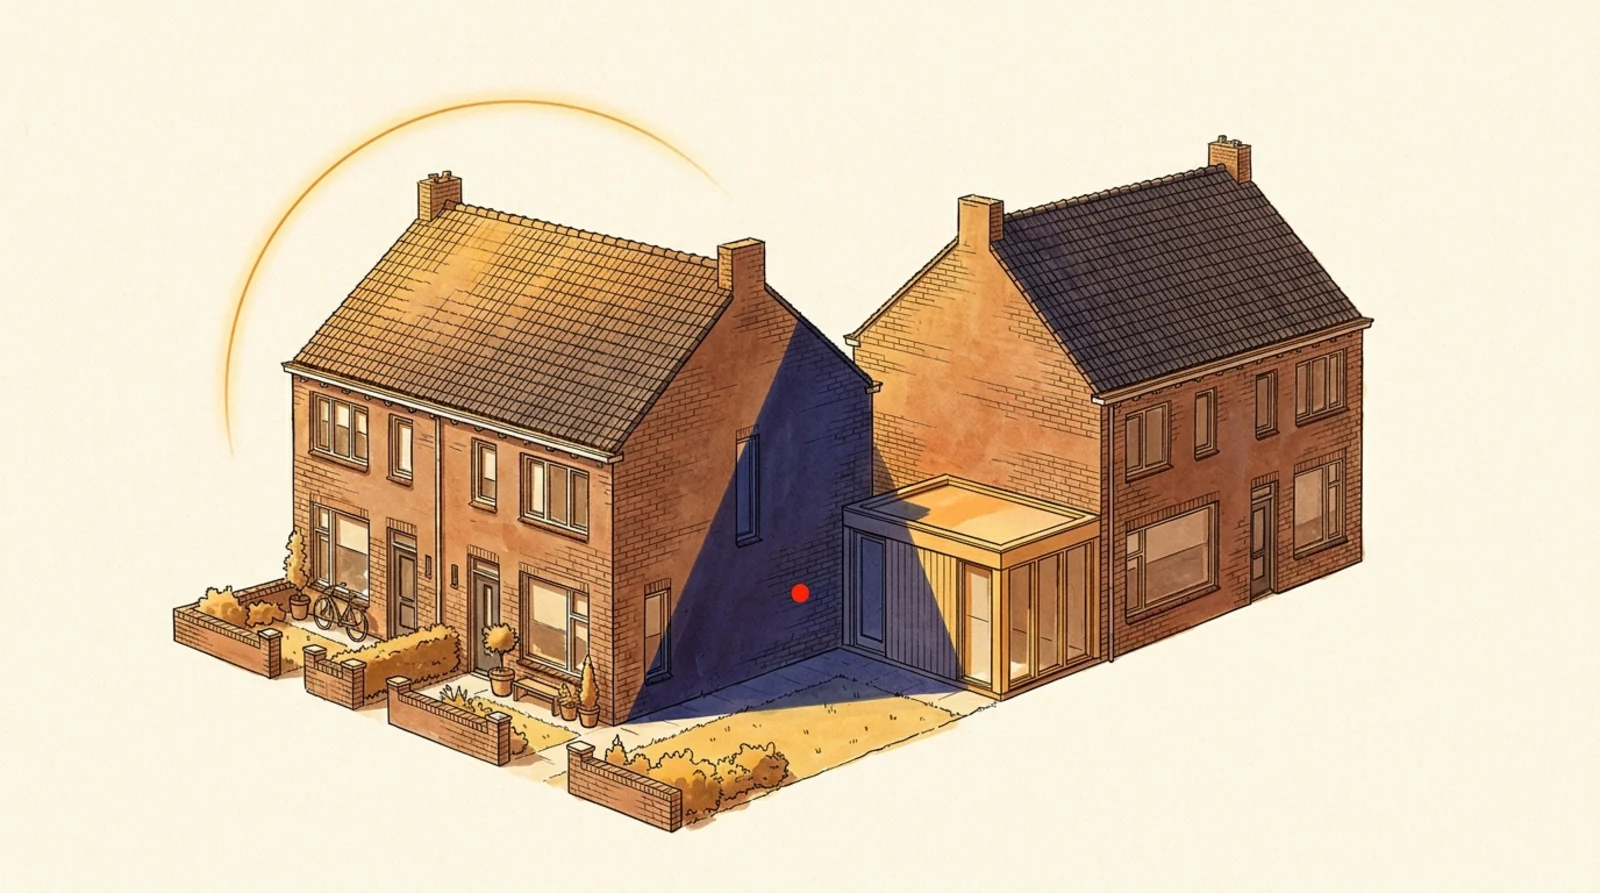
For a standard terraced house in Utrecht, The Hague or any post-war neighbourhood you need do nothing yourself. 3DBAG contains a 3D model of virtually every Dutch building, built on the Actueel Hoogtebestand Nederland (AHN). For a post-AHN new-build home — completed after the last flight over your map sheet — that can be different. The same applies to a recent renovation or roof addition that a neighbour wants to object to: the AHN5 survey may date from before the construction, and the 3DBAG model still shows the old roof.
There are four scenarios in which your own height survey adds real value:
- Post-AHN new build.Your home or your neighbour’s was completed in 2024 or 2025, your map sheet was last surveyed in 2022 for AHN4, and AHN6 has not yet flown over your province. Schaduwplan’s 3D model then falls back on the BAG floors formula (storeys × 3 m), with an uncertainty of roughly ±30%.
- Recent roof addition or extension. Something was built between the AHN snapshots. The
b3_mutatie_ahn4_ahn5flag in 3DBAG is sometimes set, but the geometry is not always updated. For an objection procedure that is too weakly substantiated. - Greenhouses and industrial sheds. 3DBAG marks these with
b3_is_glas_dakorb3_kas_warenhuisand often falls back on a flat LoD11 extrusion because the roof-fit algorithm misinterprets glass. For Westland, Aalsmeer and the Bommelerwaard area your own survey is sometimes the only option. - Complex roofs that 3DBAG does not fit. A T-shape with crossing ridge lines, a hip roof with dormers on four sides, or a mansard roof with several angled planes sometimes yields a flat fallback in 3DBAG. The 3DBAG attribute
b3_extrusie === 'lod11_fallback'is the signal here.
None of these four apply to you? Then you can close this article and simply enter your address in Schaduwplan. For the other cases, read on.
Three ways to get height data yourself — an overview
| Option | Cost | Turnaround | Accuracy (1σ) | Court-grade? | For whom |
|---|---|---|---|---|---|
| A. Hire a surveying firm | €500–€5,000 | 1–3 weeks | 2–5 cm (drone photogrammetry or LiDAR) | Yes, with a report and GCP reference | Architect, lawyer, owner with a budget |
| B. Your own drone + WebODM/RealityCapture | €750–€2,500 hardware + one weekend’s work | 1–3 days after the flight | 5–15 cm without GCPs, 2–5 cm with GCPs | Marginal — depends on the methodology report | Hobbyist, freelance architect, renovator |
| C. Phone photogrammetry (Polycam, Scaniverse) | Free to €15/month | < 1 hour capture | 10–50 cm on building heights | No, visualisation only | Someone who wants to understand, not prove |
Pricing disclaimer. The price indications above are international benchmarks. Dutch surveying firms do not publish fixed prices — for your exact situation, expect a quote on request. The international 2026 pricing guide from DroneLidarMapping.com cites $1,500 to $15,000 per project as the typical range for a drone topographic survey, depending on area and desired accuracy.
Which option suits you?
A short decision tree if you are unsure:
- Is there a formal objection procedure or a case heading to the Council of State? → Option A (surveying firm). The methodological sign-off and the formal report are indispensable at that level; a DIY survey can be used against you.
- Are you technically comfortable, do you have a drone or can you borrow one, and is this about preparing a permit application or a family or neighbour discussion? → Option B (flying yourself + WebODM/RealityCapture). With GCPs and RTK you reach an accuracy that is more than enough for most municipal processes.
- Do you just want to understand how things stand, without it having to be evidence? → Option C (phone app). Fast, free, fine for your own understanding — but not for the report.
Option A: hire a Dutch surveying firm
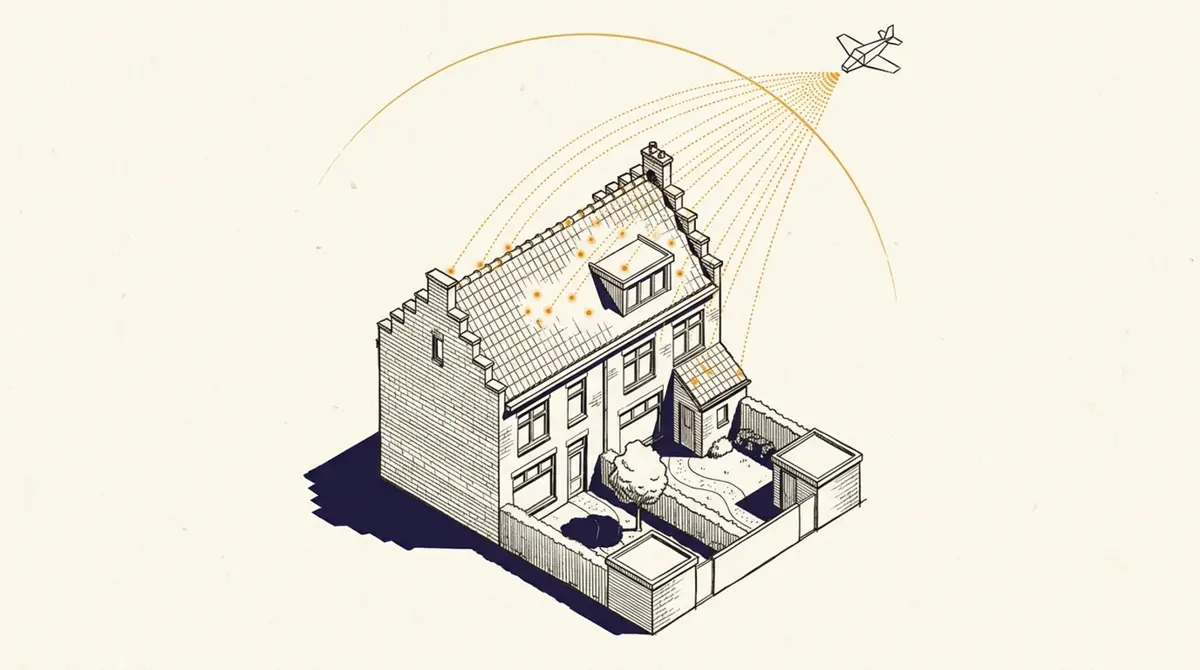
The safest route. A certified surveying firm flies a DJI M350 RTK or similar and places ground control points (GCPs) — marked targets on the ground whose exact XYZ coordinates are surveyed with an RTK rover (Real-Time Kinematic GPS, with cm precision). Those GCPs are the anchors to which the entire drone photo set is pinned, so that the final 3D reconstruction sits absolutely correctly in NAP height. The data is processed into a DSM (Digital Surface Model — a raster with the highest visible height per cell, including buildings and trees) and delivered with a report. According to Sweco Nederland, GCPs achieve an accuracy of 2 to 5 cm relative to NAP. Drone Visual promises “accuracy to within 5 mm” for project planning, with delivery within 24 hours of the flight.
DSM versus DTM — mind the difference. A DSM (Digital Surface Model) contains everything visible from above: buildings, trees, chimneys, antennas. A DTM (Digital Terrain Model) is the bare ground without those objects — intended for terrain analysis, not for shadow. For a sunlight study you always need a DSM, because that is the surface that casts shadow. If you are delivered a DTM, exactly the buildings you want to study are missing.
What do you get delivered? Typically a GeoTIFF DSM, an orthomosaic, a point cloud in LAS/LAZ, and optionally a mesh in OBJ or PLY. For Schaduwplan you only need the GeoTIFF DSM in V1 (see further on).
What should you ask? The three critical questions for every quote — and why they matter:
- “Which coordinate system do you deliver? EPSG:28992 (RD) is my preference.” Schaduwplan, 3DBAG and BAG all work in Rijksdriehoek (EPSG:28992). If you get the file in WGS84 or a local system, it has to be transformed manually — with every conversion, millimetres to centimetres of error creep in, and on a tall roof that is enough to flip a TNO test.
- “What vertical accuracy do you achieve, and is it NAP-referenced?” The Voorburg ruling (Council of State 2023) accepted a height discrepancy of 3 cm. So ask for vertical accuracy of a few centimetres, specifically referenced to NAP — not to an arbitrary local zero point. Without a NAP reference the survey cannot be combined with AHN4 or 3DBAG and you cannot substantiate it before the court.
- “Do you supply a methodology report that I can add as evidence?” For an objection procedure or formal view (zienswijze) the municipality or court must be able to retrace how the survey was made: which equipment, how many ground references (GCPs), which processing software, which uncertainty margin. A survey without methodology is a number without proof.
A number of established Dutch firms that take on residential or small commercial work:
- Dutch Drone Survey (Sliedrecht / Alphen a/d Rijn) — drone mapping, inspection, volume determination
- Geomaat (Eyefly) (Groningen) — drone mapping with a 100 MP camera, 3D point clouds, DTM
- GeoZICHT (Rotterdam region) — drone LiDAR, SLAM, also indoors and under bridges
- Aeret — WebODM SaaS server + drone photogrammetry course
- Drone Visual (Groningen) — DJI M350 RTK + Zenmuse P1/L2, 5 mm precision
- PelserHartman (’s-Hertogenbosch) — 3D laser scanning, drone photogrammetry, NEN2580
- Sweco NL (De Bilt) — drone inspection + lidar/photogrammetry, 2 to 5 cm with GCPs
- Terra Drone NL — drone mapping and LiDAR
For a single building with its immediate surroundings (a few hundred square metres) quotes often trend towards the lower end of the range. Want a whole street? Then it climbs.
Option B: fly it yourself with a drone plus WebODM or RealityCapture
You have a drone, you have a free weekend. What else do you need?
Hardware
For a small property survey on a modern Dutch building, the following will do:
- Drone — a DJI Mini 4 Pro (sub-249 g, in class C0 / Open A1) is enough for a terraced house. For larger plots, or if you want RTK positioning: a DJI Mavic 3 Pro or the M350 with a Zenmuse P1. The Mini class has the advantage that you may fly in the Open category A1 — over people, but not over crowds.
- GCP targets (optional but recommended) — a few printed chessboard targets and a borrowed RTK rover from a contractor or a neighbour in the construction sector. Without GCPs you can still produce a DSM, but your absolute height drifts by a few decimetres. With GCPs and RTK you reach the 2 to 5 cm that Sweco advertises.
Software
Two paths, both common:
- WebODM (open source) — free, fully self-managed, runs locally or on your own server. Dutch supplier Aeret. Steep learning curve, and the work requires a decent PC.
- RealityCapture— free for < $1M revenue since April 2024. Fastest photogrammetry engine, excellent quality; Windows only, GPU-heavy.
WebODM builds on the OpenDroneMap engine. In a single weekend you can set it up on your own machine or via Aeret’s SaaS offering. RealityCapture (by Capturing Reality, part of Epic Games since 2021) has been free since 2024 for indie users and developers with less than $1M revenue — see capturingreality.com for the current licence terms.
Flight workflow
The canonical photogrammetry flight:
- Plan a double grid. First north-south, then east-west, in both directions. 70% forward overlap, 80% side overlap. Most DJI apps (Pilot 2, Litchi, DroneLink) have a grid mode.
- Fly at a constant altitude. For a terraced house: 30 to 50 m above the lowest ground level. Lower = more detail, but you have to make more passes.
- Shoot additional oblique photos. A circuit around the building at a 30° camera angle ensures the roof planes and facades are computed properly.
- Place GCPs if you want to hit the 5 cm margin. Three to six targets, evenly distributed, surveyed with an RTK rover or (less accurately) a good RTK phone.
- Process in WebODM or RealityCapture. Reckon on 100 to 300 photos for one terraced house with its immediate surroundings. Processing time: 30 minutes to a few hours, depending on the number of photos and your hardware. WebODM on a laptop with 16 GB RAM and a modern discrete GPU (NVIDIA RTX or Apple M-series) is comfortable; less than that works too, but then you are counting in nights rather than hours.
- Export as a GeoTIFF DSM in EPSG:28992. That is the format Schaduwplan accepts directly.
Dutch drone regulations (as of April 2026)
If you fly in the Open category, you fall into one of three subclasses, A1, A2 or A3, based on drone weight and distance to people. The labels C0 through C4 are the European CE classes with which manufacturers mark their drones — the class is on the box and in the drone app, and determines which A-subclass you may fly in. A short summary, per Rijksoverheid and shotwithmydrone.nl:
| Subclass | Drone weight / class | What is allowed | What is not allowed | Certificate required |
|---|---|---|---|---|
| A1 | < 250 g (C0) or < 900 g (C1) | Flying over people | Over crowds | Online A1/A3 flight certificate (free, 30 min) |
| A2 | < 4 kg (C2) | Up to 30 m from people, or 5 m in low-speed mode | Over people | A2 certificate (theory exam at an ILT-recognised organisation, ~€100) |
| A3 | < 25 kg (C3/C4) | Outside built-up areas, > 150 m from people, buildings, infrastructure | Over or near people / buildings | Online A1/A3 flight certificate |
For your terraced house in a built-up area with a sub-250 g Mini 4 Pro: A1 with the online certificate is enough. For a Mavic 3 (~895 g) in the same situation: A2 with the theory exam.
Remote ID has been mandatory since 2024 for all drones heavier than 250 g, and since 2025/2026 also for most C-class drones under 250 g. According to shotwithmydrone.nl, modern DJI drones (Mini 4 Pro, Mavic 3, M350 RTK) broadcast Remote ID by default. Older drones without Remote ID firmware may still fly in A3 (far from people), but not in A1 or A2 over or near people. The ILT publishes the current course requirements at ilent.nl.
Check in advance whether you may fly at all. Many places in the Netherlands are no-fly zones — the CTR around Schiphol, Rotterdam-The Hague, Eindhoven and Lelystad, plus Natura 2000 areas, military airspace and event zones. The official map is at dronekaart.nl (formerly “GoDrone”); type in your address and you will see whether any restrictions apply. For flight-radar zones, the DroneWatch map is a good second check.
Insurance. The Dutch government strongly recommends third-party liability insurance for drones; for commercial or professional flights a separate drone liability insurance is mandatory. For the occasional hobby flight your private liability insurance (AVP) sometimes covers drone damage; check the policy. A separate drone liability policy typically costs € 50–€ 150 per year.
Regulations disclaimer. Drone rules change regularly. The above is correct as of April 2026 based on the sources cited, but always consult the current rules via Rijksoverheid and the ILT for your specific situation. CTR zones around airports, nature reserves and city centres carry additional restrictions.
Option C: phone photogrammetry — usable, but for visualisation
Apps like Polycam and Scaniverse (Niantic) build a 3D mesh of a building by simply walking around it with your phone. iPhone Pro models from the 12 onwards have LiDAR sensors built in; older phones and Android devices fall back on pure photogrammetry. A capture takes 5 to 15 minutes per building; processing happens in the cloud.
It works surprisingly well for visualisation. For a contractor who wants to see how an extension fits, for an architect who wants to quickly sketch a baseline situation, or for an owner who wants to understand what stands around their roof — fine.
But the accuracy on building heights is an order of magnitude worse than drone photogrammetry or LiDAR. According to a published study in ScienceDirect (2025), the average linear measurement error of Scaniverse is around 10.4% and of Polycam around 42.6% on comparable measurement objects — so on a ridge height of 9 m, Polycam is off by almost 4 m on average. Polycam itself openly acknowledges this: their own support article “How Accurate Are Polycam Captures?” does not recommend Polycam for dimension-sensitive applications.
Phone photogrammetry disclaimer. Not suitable for a sunlight study, only for visualisation. Phone LiDAR noise is of a greater order than the shadow precision on which the TNO standard rests. For a report that a municipality or court will accept: choose option A or a well-executed option B.
That is why in V1 Schaduwplan does not accept Polycam or Scaniverse output as a height source. You can still create the 3D model to look around for yourself, but the sunlight report itself must rest on more solid data.
Existing tile sources — first check whether it already exists
Before you get a drone in the air: check whether someone else has already flown it. A number of public sources you can access for free:
- GeoTiles TU Delft — Wouter van Bruggen’s site offers AHN tiles in handy packages, without your having to learn the entire HWH portal.
- HWH Self-Service Portal — the official download source of Het Waterschapshuis. Here you find AHN1 through AHN6, plus additional rasters and flight-line GeoPackages.
- Beeldmateriaal.nl — national aerial photos at cm resolution, refreshed annually. No height data, but usable as an orthophoto reference for your own captures.
- AHN bladwijzer GeoPackage — if you want to know which AHN year is the most recent for your map sheet. Handy for checking whether your own survey is really needed.
Has AHN6 already flown over your province? Then you will find a 0.5 m DSM there that is more than sufficient for most homes. According to the first AHN6 release on ahn.nl, parts of north-east Netherlands have been available since October 2025; the rest follows on a rolling basis. See also where are we flying now.
Which file format does Schaduwplan need?
In short: in V1 Schaduwplan accepts GeoTIFF DSM. That is it.
A GeoTIFF is a TIFF image with georeferencing baked into the header — a set of metadata fields (the so-called GeoKeys) that record, per pixel, where on Earth it sits and in which coordinate system that is expressed. An EPSG code is a short numeric reference to such a coordinate system: EPSG:28992 is Rijksdriehoek (RD/NAP, the Dutch standard system), EPSG:4326 is WGS84 lat/lon (what your smartphone uses) and EPSG:3857 is Web Mercator (Google Maps). Schaduwplan recognises all three and reprojects automatically to RD; a GeoTIFF without GeoKeys is rejected.
A DSM is a digital surface model — each pixel contains a height value in metres above NAP, including buildings, trees, chimneys. That is exactly what we need: the highest surface per grid cell, because that is what casts shadow. (See also the difference with a DTM above, which instead filters out all buildings.)
- Format: GeoTIFF (.tif or .tiff)
- CRS: EPSG:28992 (RD/NAP) native, or EPSG:4326/3857 with automatic reprojection
- Type: DSM (digital surface model — buildings + trees + everything)
- Maximum file size: 100 MB
- CRS detection: mandatory — a file without geo-referencing is rejected
- Resolution: 0.5 m or finer recommended, not a hard requirement
What we do notaccept in V1: raw point clouds (LAZ/LAS), 3D meshes (OBJ/PLY), Polycam .splat / Scaniverse .ply, and GeoTIFFs without geo-referencing. The reason: manual georeferencing is the biggest error path for “the roof is 100 m out of place” — which we want to prevent by making automatic detection mandatory.
From WebODM you export a DSM as follows: open the project → “Download Assets” → “DSM (GeoTIFF)”. From RealityCapture: Reconstruction → Export → DSM, making sure the coordinate reference is set to EPSG:28992 (or another supported geo coordinate system). From a supplier: explicitly ask for “GeoTIFF DSM in EPSG:28992”.
Step-by-step: uploading to Schaduwplan
The upload flow as it exists in Schaduwplan today:
- Enter your address at schaduwplan.nl/app. You see the default analysis based on 3DBAG and AHN.
- In the Source data panel, click “Upload your own survey”. The panel shows which source Schaduwplan currently relies on (3DBAG roof-fit, BAG formula, AHN WCS fallback) and how old the survey is.
- Drag your GeoTIFF into the upload field or select the file via the file picker. Up to 100 MB.
- Schaduwplan parses in your browser. Not a byte leaves your computer. We compute a SHA-256 hash, read the GeoKeys from the header and detect the coordinate system. For EPSG:4326 or 3857 we reproject to RD; if georeferencing is missing you get a clean error message.
- The results list shows, per building: the old tier (e.g. “BAG formula”), the new tier (“Your own survey”), the extracted height (the difference between the 95th and 25th percentile of the pixel values within the BAG footprint — the 25th percentile approximates the local ground level for a single-band DSM), the difference from the old value, and the number of valid pixels. Per row there is a checkbox you can tick or untick.
- Schaduwplan applies automatic reconciliation:
- Difference ≤ 0.3 m → silently accepted
- Difference 0.3 m – 1.0 m → soft warning
- Difference > 1.0 m → hard warning and the building unticked by default (you must tick it explicitly)
- Confirm and download your report. The PDF appendix lists: file name, SHA-256 hash, acquisition date (if you supply it), methodology description (free text field), pixel count and pipeline version. This way a judge or reviewing official can request the original file from you and bit-identically reproduce what the report states.
Privacy and verification — why we do not keep your file
At Schaduwplan we care that our reports are fully reproducible without our having to take custody of customer data. Three principles follow from that:
Client-side parsing. The GeoTIFF is read and processed in your browser. We use the open-source geotiff.js library; the pixels do not travel over the network. What does go to the server are the derived numbers: per building the extracted height, the pixel count, the coverage percentage, and a SHA-256 hash of the original file.
Hash plus pipeline version. The PDF appendix lists the SHA-256 hash of your upload and the exact version of our extraction pipeline (e.g. [email protected]). If someone wants to verify that the numbers are correct, you can send them your original file, and with the same pipeline version they can reproduce the numbers bit-identically.
You keep the original. For a court-grade chain of evidence the original file must be retrievable. We do not keep it, you do. That is not a shortcoming but a feature: the fewer parties that hold your data, the less vulnerable the chain.
Methodologically it is phrased in the PDF appendix as follows:
“Height measurements derived from user-supplied GeoTIFF raster files are determined per building as the difference between the 95th and 25th percentile of the pixel values within the BAG footprint. For a single-band DSM, the 25th percentile approximates the local ground level. Processing took place exclusively in the user’s browser; Schaduwplan did not receive or store the source file. For independent verification, the source file can be requested from the user; the SHA-256 hash and the pipeline version make bit-identical reproduction of the numbers stated here possible.”
That is what we mean by “court-grade”: not that a judge accepts it without a second thought, but that an opposing party or reviewing judge can check the numbers if they wish.
Where Schaduwplan fits in this story
We are a tool that combines open Dutch height data with the TNO sunlight standard and the The Hague standard to generate a PDF report in five minutes. For the vast majority of addresses that is already enough. If you are in that one scenario where the open data is not yet recent or fine-grained enough, we give you two options: wait until AHN6 has flown over your map sheet (see part 1: what is AHN), or commission or capture a survey yourself and upload it.
The most important word in the entire methodology is transparency. Whether the height source is 3DBAG roof-fit, AHN WCS fallback, BAG formula or your own drone DSM — the PDF says so, with provenance, date and hash. A judge, a municipality or a lawyer can follow step by step where every metre comes from.
Sources (28)
We back every article with public sources. Click to see all the original documents, rulings and datasets.
Sources (28)
We back every article with public sources. Click to see all the original documents, rulings and datasets.
Dutch surveying and drone firms
DIY software
Dutch drone regulations (as of April 2026)
Tile and data sources
Cost benchmark
Frequently asked questions
- Do I need a drone flight certificate to fly over my own home?
- Yes, even over your own plot. In the Open category A1 or A3 the online A1/A3 flight certificate is enough (free, about 30 minutes via an ILT-recognised organisation). For A2 (Mavic 3 class over people) an additional theory exam is required.
- How accurate does the survey need to be for a sunlight study?
- TNO sunlight studies work with roof heights; discrepancies of up to roughly 10 to 15 cm are usually not decisive for the outcome. Drone photogrammetry without GCPs reaches 5 to 15 cm; with GCPs, 2 to 5 cm. Both are more than sufficient. Phone photogrammetry, with discrepancies of 30 to 50 cm, is not.
- Am I allowed to fly over my neighbour's roof to prove that their roof addition is too high?
- Technically yes, provided you follow the Open category rules and the privacy rules (no recognisable people or identifiable interiors). But in practice you hand your opponent ammunition if you put forward a DIY survey yourself: they will magnify every inaccuracy. For a formal objection procedure or Council of State case we strongly advise option A, an accredited surveying firm with a formal report. See also /bezwaar-maken for the broader evidence strategy.
- Does Schaduwplan work with the DSM from AHN6 once it is available for my province?
- Yes. Schaduwplan automatically looks at AHN5, and (as soon as Ellipsis Drive has published them) AHN6, via the OGC WCS services. For your home we compare which is more recent than the 3DBAG snapshot. Your own upload is only needed if none of the official sources yet cover your situation.
- Is a GeoTIFF without a coordinate system usable?
- No. A GeoTIFF without GeoKeys (or with "ProjLinearUnits" set to an unknown value) is rejected. Placing the survey "by feel" is exactly the error we want to prevent. A drone export without geo-referencing can be georeferenced manually in QGIS or GDAL using a few known points, but that is a specialised step.
- May I use this for commercial work (architect, sunlight consultancy)?
- Yes. Schaduwplan is a tool, not a sublicence on the underlying data. What you do not automatically get is the liability of an engineering firm — for €5,000-plus projects where your professional risk is at stake, the advice remains to have the report endorsed by a recognised firm.
- Do I need to keep the drone in sight during the flight (VLOS)?
- Yes. In the Open category, Visual Line of Sight applies: you must be able to see the drone with the naked eye throughout the flight. Flying with FPV goggles or beyond visual line of sight (BVLOS) falls under the Specific category and requires an operational authorisation from the ILT — for an own-plot survey that is unnecessary.
- What if my GeoTIFF contains multiple buildings?
- No problem. After upload Schaduwplan shows a per-building results list: for each building inside or overlapping your raster you see the old tier (e.g. "BAG formula"), the new height from your survey, and the difference. Per row you tick which buildings you want to replace. Buildings outside your raster stay unchanged on their existing source.
- How long can my drone survey remain "valid"?
- As long as nothing has been built on the relevant buildings. A DSM from today covers today's situation — as soon as a neighbour adds a roof addition, your survey is out of date. Rule of thumb: we treat sunlight studies based on your own survey as current for about two years, or until the next AHN snapshot for your map sheet, whichever comes first. Keep the acquisition date on record and note it in the methodology text field on upload; that date is carried through into the PDF appendix.
Already have a GeoTIFF? Upload it in Schaduwplan
The upload feature is now live. Open your address in Schaduwplan, click "Upload your own survey" in the Source data panel, and see per building what changes relative to the 3DBAG roof-fit. The file is processed locally in your browser and is not stored by Schaduwplan.
Read more
Data sources
What is AHN and when will your home be surveyed?
The Actueel Hoogtebestand Nederland (AHN) has laser-scanned new parts of the country from an aircraft every year since 1996. Since October 2025 the north-east sits in AHN6, accurate to five centimetres. Here is how to check when your address is due and which version currently covers it.
Standards & municipalities
Less daylight because of your neighbours? What the court weighs
Losing daylight to a neighbour's extension or roof addition? Article 5:37 of the Dutch Civil Code protects light, not just direct sun. Courts have had the daylight factor calculated per room and ordered construction halted in 2024 and 2025. Daylight is the second leg alongside sunlight access; together they carry the most weight.
Standards & municipalities
Sunlight, daylight and neighbour law: which rules apply?
Three separate frameworks govern sunlight at a home. Sunlight access (the TNO standard) is a guideline, not a law. Daylight (Articles 4.146 and 4.147 of the Building Works Environment Decree) is the only one written into national law. Neighbour law (Article 5:37 of the Civil Code) governs unlawful nuisance. Window size counts for daylight, not for sunlight access.